A view can feel enormous when you are standing in it and oddly flat in the photograph. The camera has turned distance into a rectangle. I find it useful to think about what in that rectangle tells a viewer which things are near, which sit further away and how the pieces relate.
This does not mean every landscape needs a large rock in the bottom corner. A foreground object earns its place by helping the picture, not by ticking off a compositional formula. Sometimes open space is exactly what the scene needs.
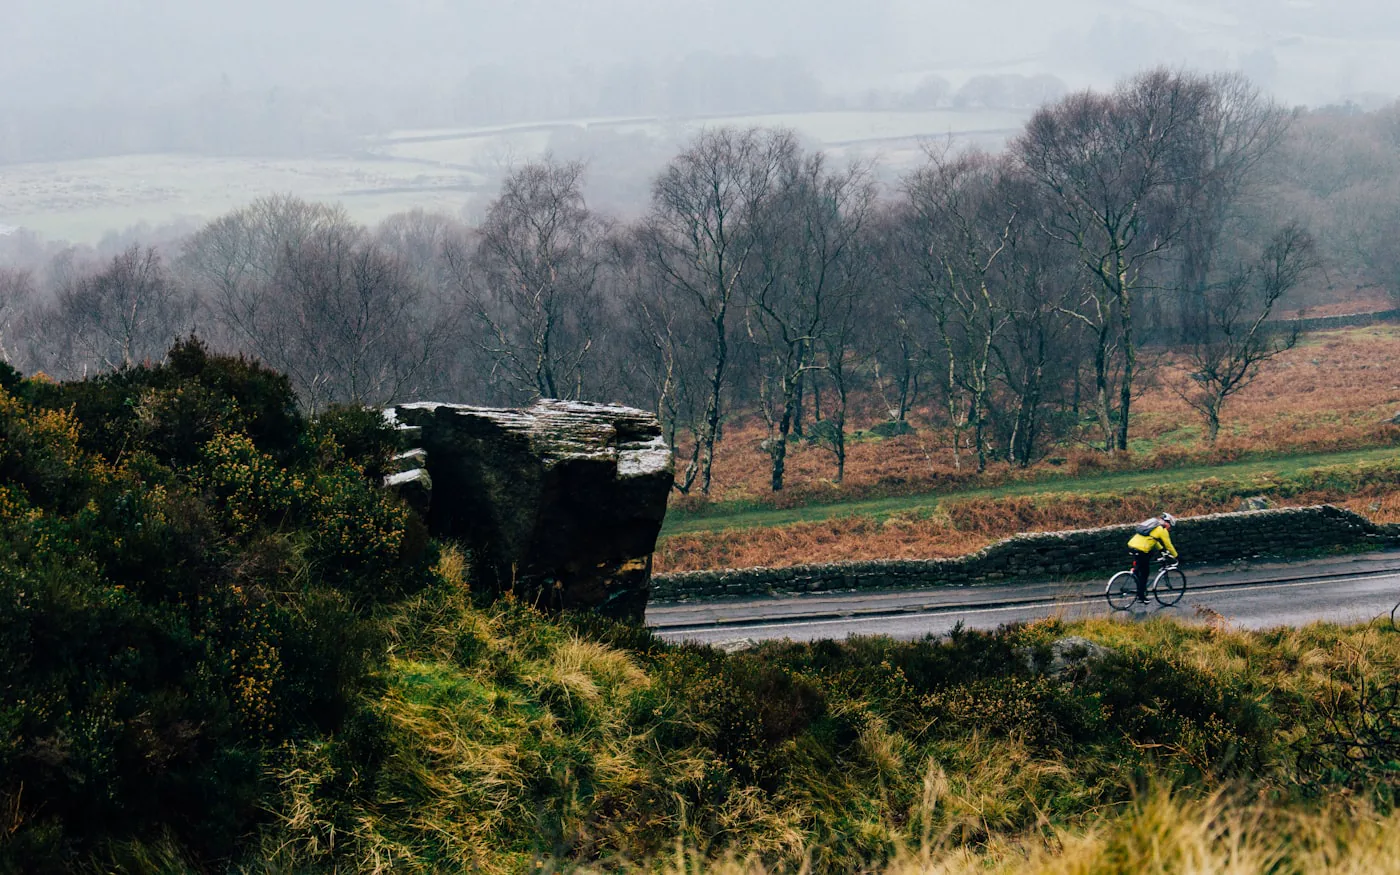
Find three roles rather than three compulsory objects
Start by identifying an entry into the frame, the main area of interest and a destination or backdrop. They may be a low wall, a field and a distant ridge. In a street scene they could be a doorway edge, a pedestrian and the buildings beyond. One object can perform more than one role.
Make a version without the near object as well. If that simpler frame feels clearer, keep it. Depth is useful when it supports the subject; it becomes clutter when the viewer spends the whole time trying to get past a branch.
Separate overlapping shapes
Overlap gives a clue about distance, but confusing overlap can obscure the scene. A small tree merging into a dark hillside may become an unreadable lump. Moving slightly can place it against a lighter background and make the relationship visible.
I check whether important shapes have room to be recognised. That might mean lowering the camera until a ridge is clear of a foreground wall, or shifting so a person is not hidden inside a lamp post. These are changes in position, not effects to rescue afterwards.
Use scale carefully
A familiar object can make size easier to judge. A walker beneath a large tree or a bench beside a building provides a reference. The object still needs to belong in the picture. Waiting for an appropriate moment often works better than placing a random object in the scene.
Imagine photographing a large hall. A wide empty view describes its structure, while a second frame with a person moving through it helps explain its scale. Neither has to replace the other. They answer different questions, which is useful when building a small sequence.
Choose what needs to stay clear
Not everything has to be equally sharp. A soft near edge can create separation, while a detailed foreground may be important in a study of texture. Decide where the viewer needs information and check that area when reviewing the image.
If both near and distant detail matter, inspect the actual result rather than assuming a particular setting guarantees it. Look for subject movement and camera movement as well as focus. A picture that appears fine on a small screen can reveal a different problem when viewed larger.
Make a two-frame comparison
Choose a familiar view and make one photograph with a nearby object, then one without it. Keep the main subject broadly comparable. Review the pair at the size you expect to use, not only zoomed in on detail.
Ask three questions: where does my eye enter, what is the main subject, and what makes the distance understandable? Keep the version that answers them most clearly. If neither does, try a different position before adding more objects. Changing your viewpoint is often the simplest way to improve the relationships.